All Choked Up
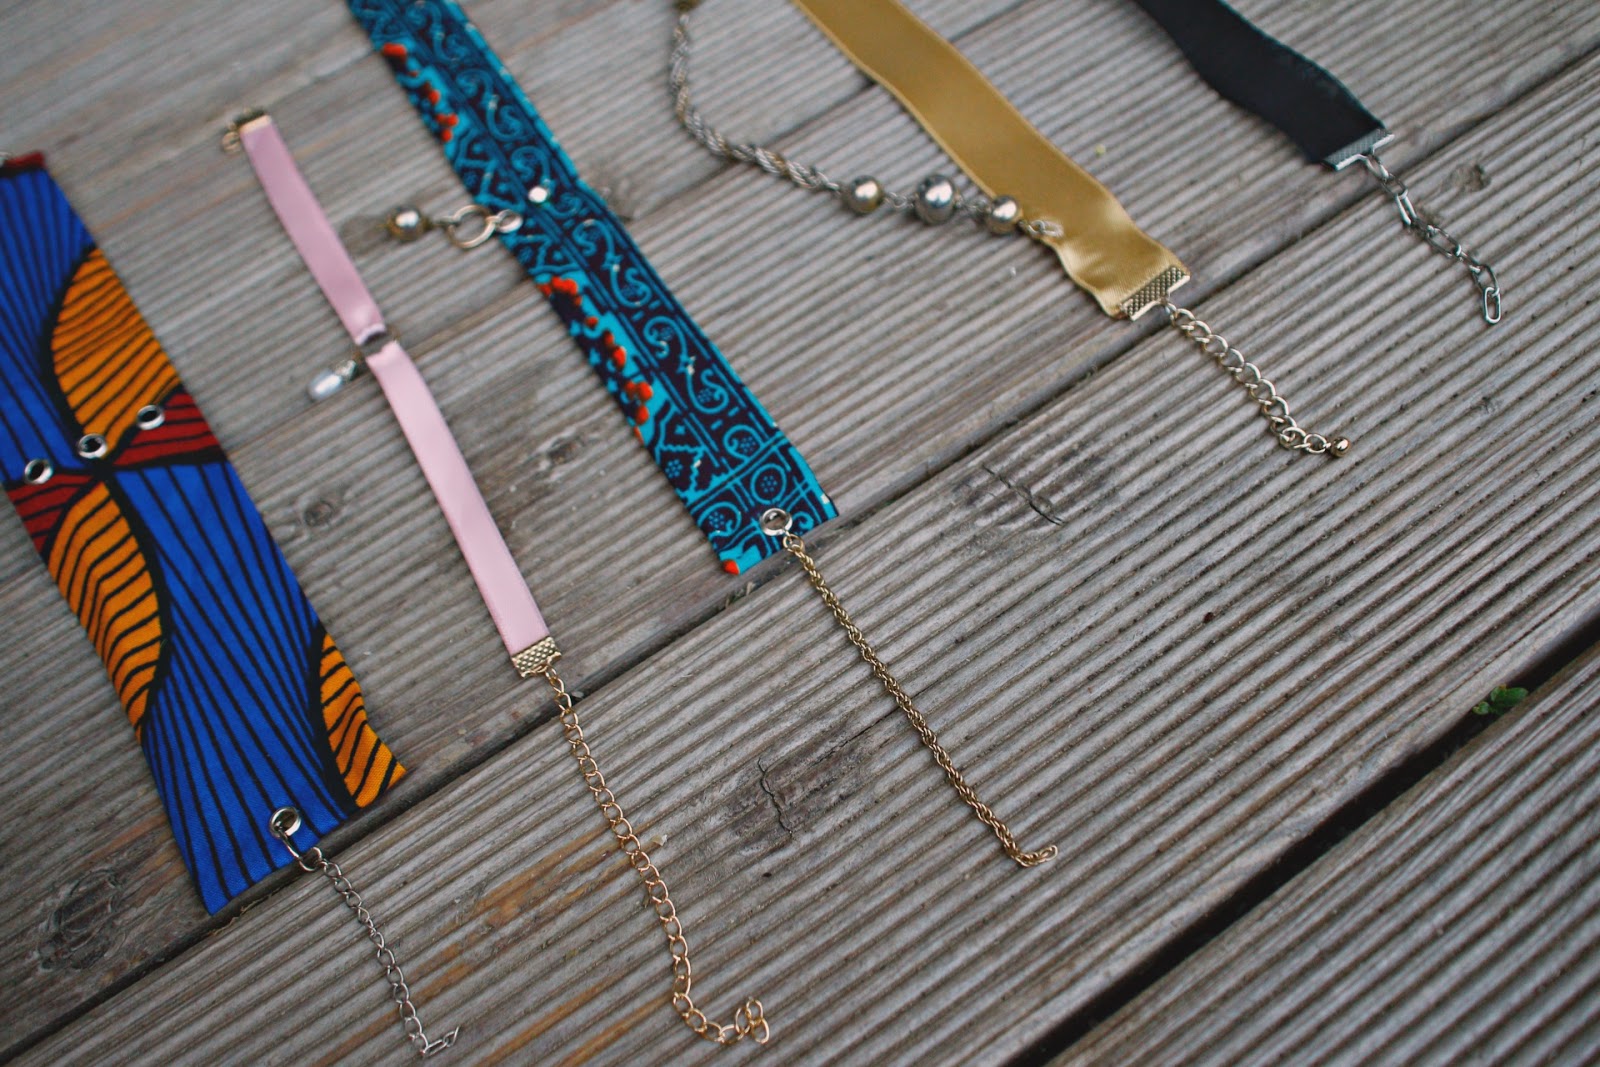
A simple choker, or six...or seven, never hurt anybody, right? So I might have gone a bit overboard last week but I also took my time to prepare a tutorial on how you can make your own unique piece of jewelry.
My motivation behind all of this was the excessive amount of old and abandoned jewelry I had aging in my Arts & Crafts boxes. Why buy new material when you can work with what you've already got? Keep on reading if you want to learn how to make the best of your already existing craft supplies!
WHAT YOU'LL NEED
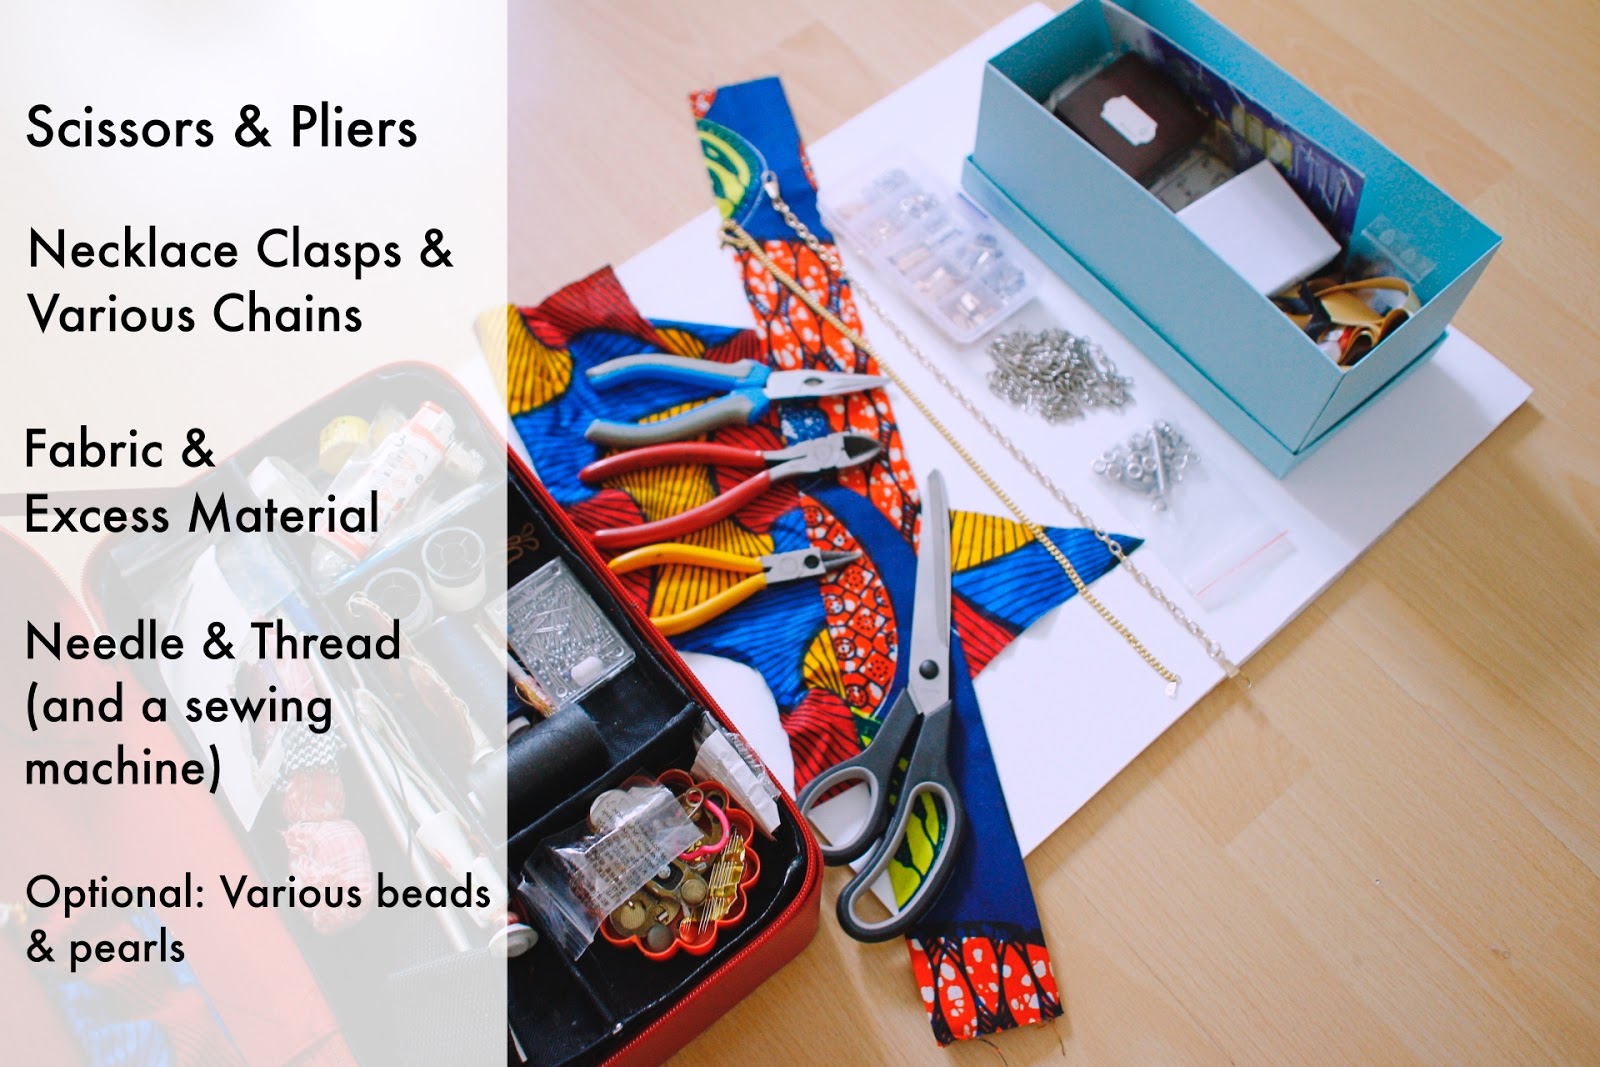 |
| This is a 4-Step tutorial and will approximately take 30 min |
- STEP 1
Get some fabric or another type of leftover material of your choice. Measure the width of your neck and apply that measurement to your fabric.
If you're using a fabric similar to the Ankara material I used, make sure there's enough for you to fold the fabric. This is necessary since it will be sewn downwards, to prevent any loose threads.
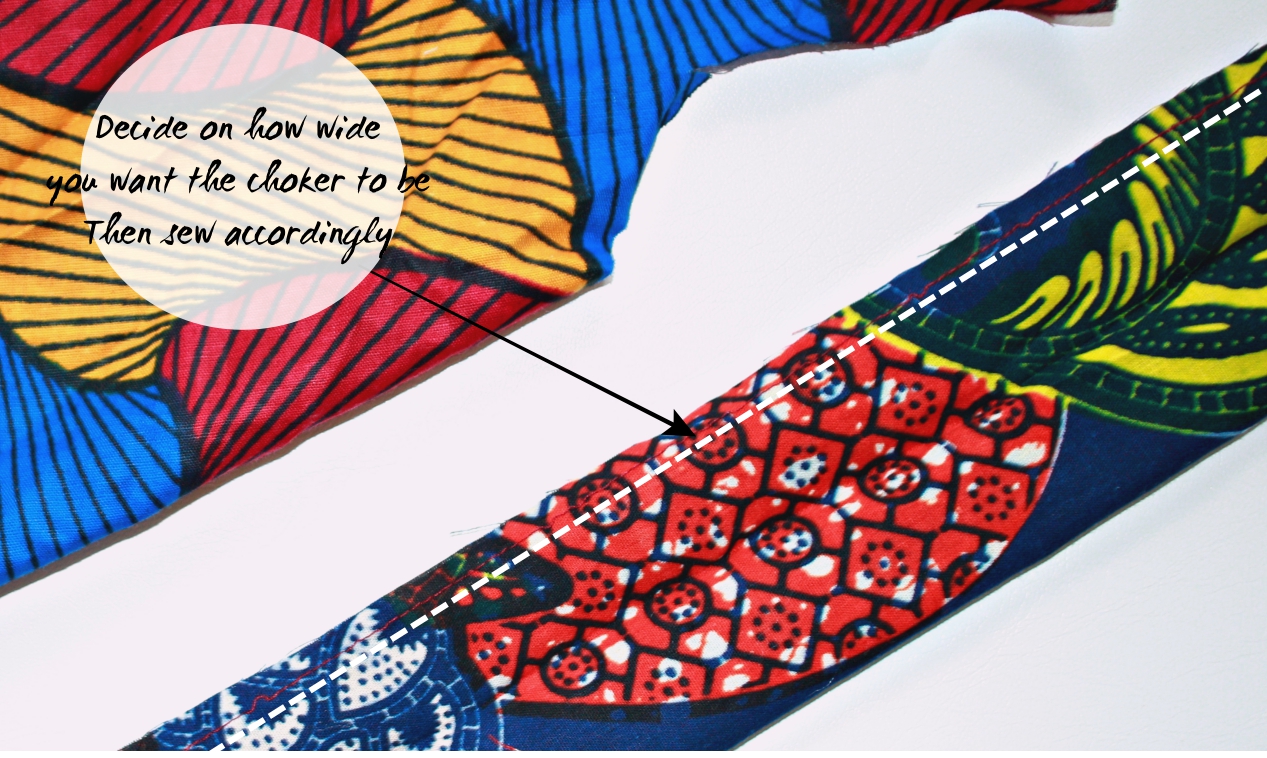
- STEP 2
Once you've measured the right size for your choker (width & length) proceed to fold in half and secure the open side with pins. Carefully sew along the open side. I myself am not a professional but I made sure the line was as straight as possible since I didn't want an uneven looking choker.
- STEP 3
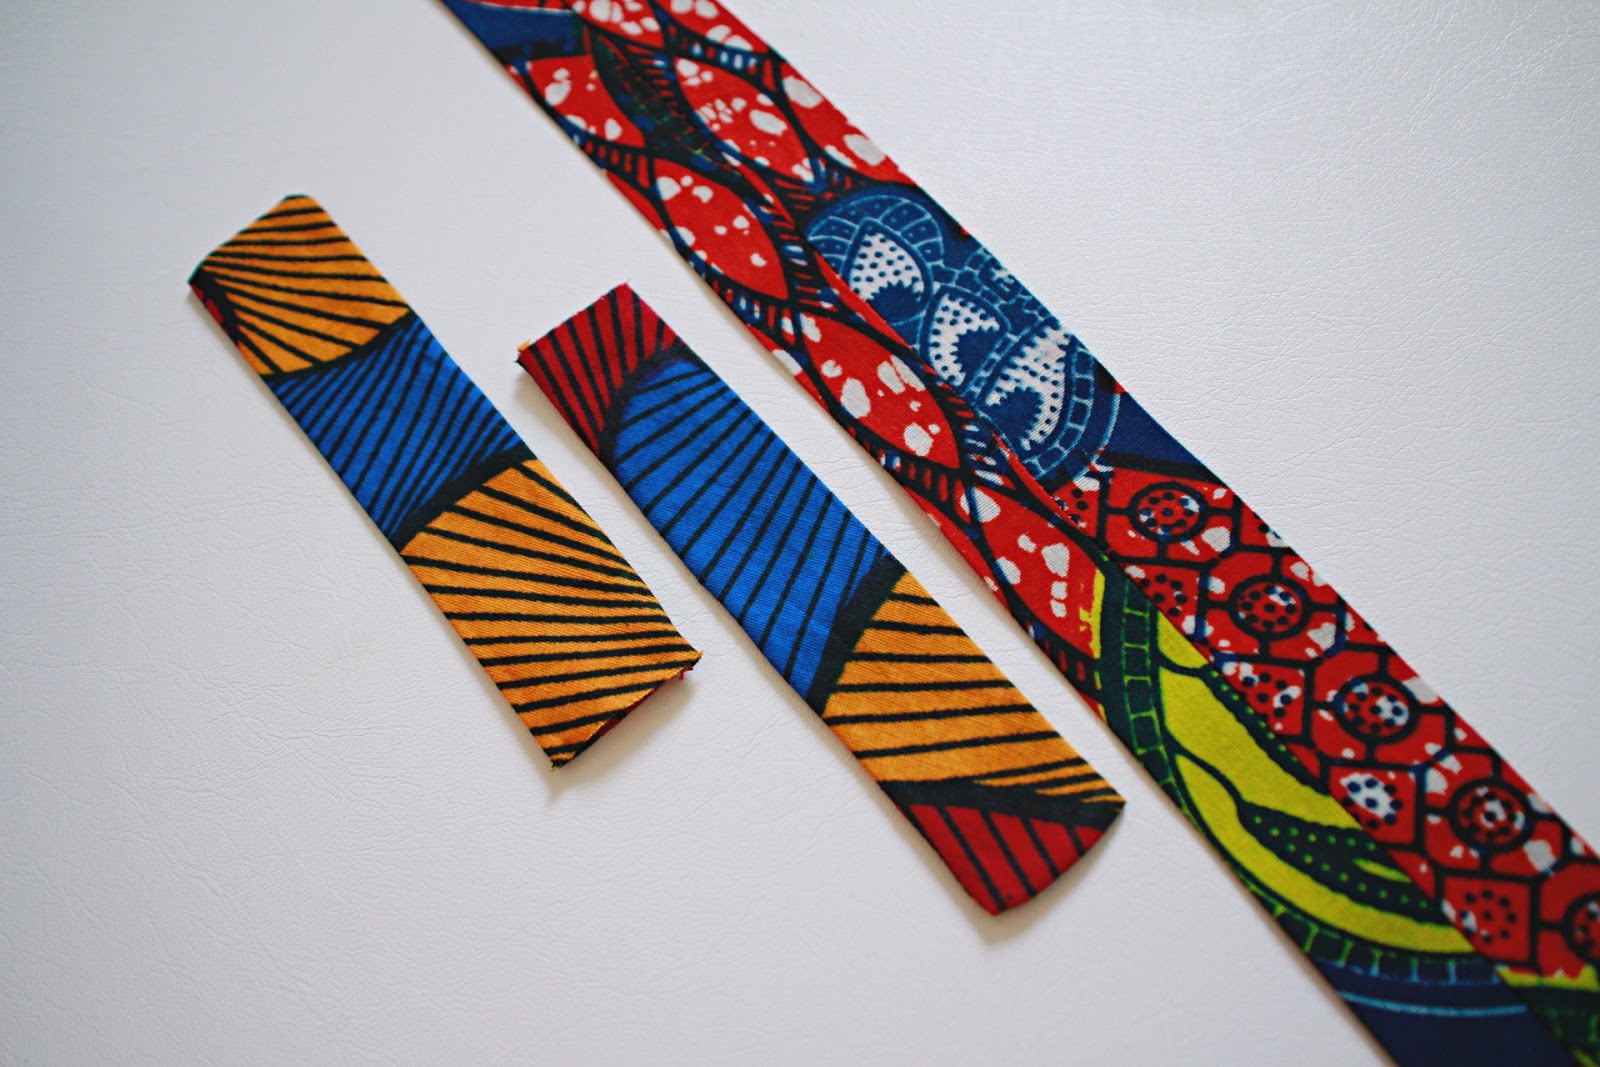
Cut off the excess fabric and turn your choker inside out. Take an iron and carefully press on the fabric. Make sure you iron with the sewn seam facing the center. Depending on what material you're using set the iron to a high heat, in my case I used "Linen/Silk".
- STEP 4
Lastly, measure how wide you want the back of your choker to be exposed. Cut off the fabric appropriately and hand sew the ends shut.
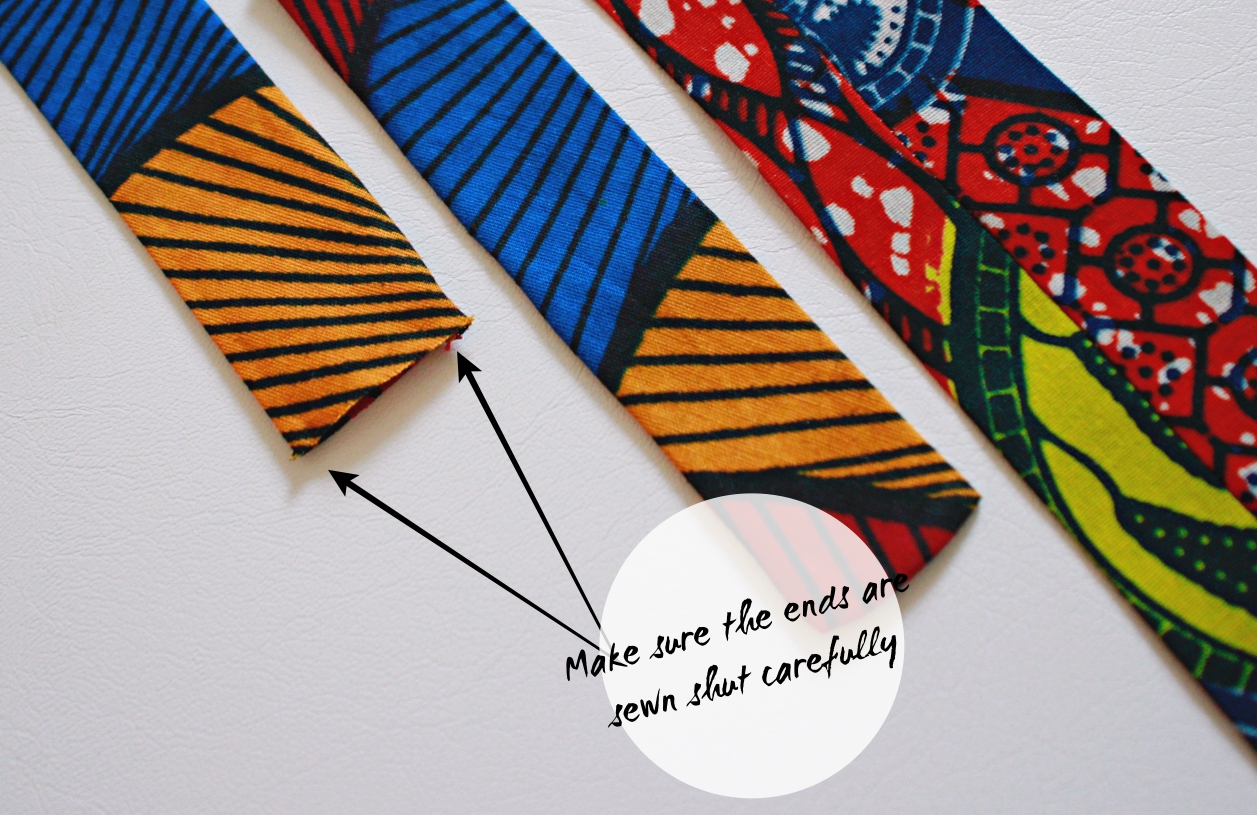
The choker is now double layered, therefore you only need to pull the needle through one layer. Once done with sewing you can once again press iron the ends. Put the clasps on the ends of the choker along with the jump rings and chains.
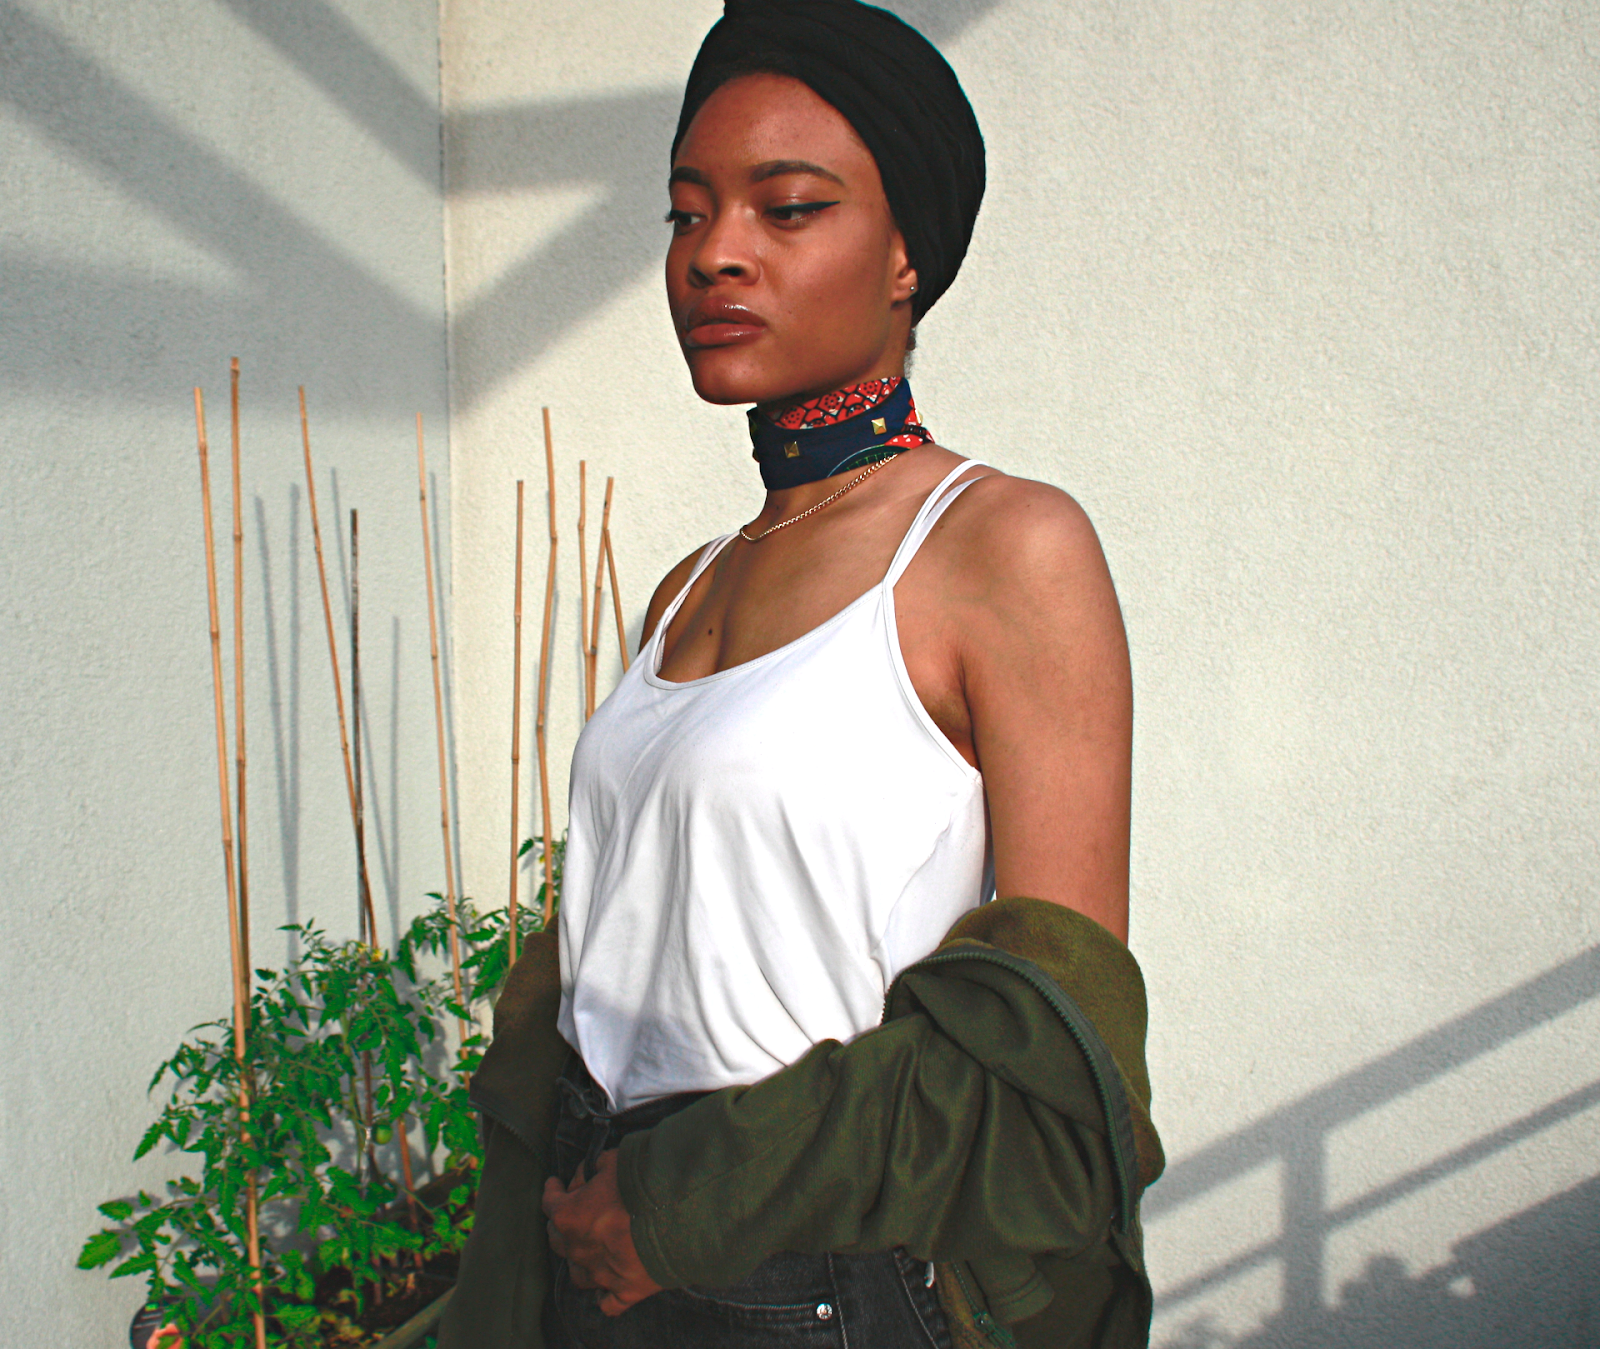
You can leave the choker as it is but at this point, it's up to you on how you want to decorate your choker.

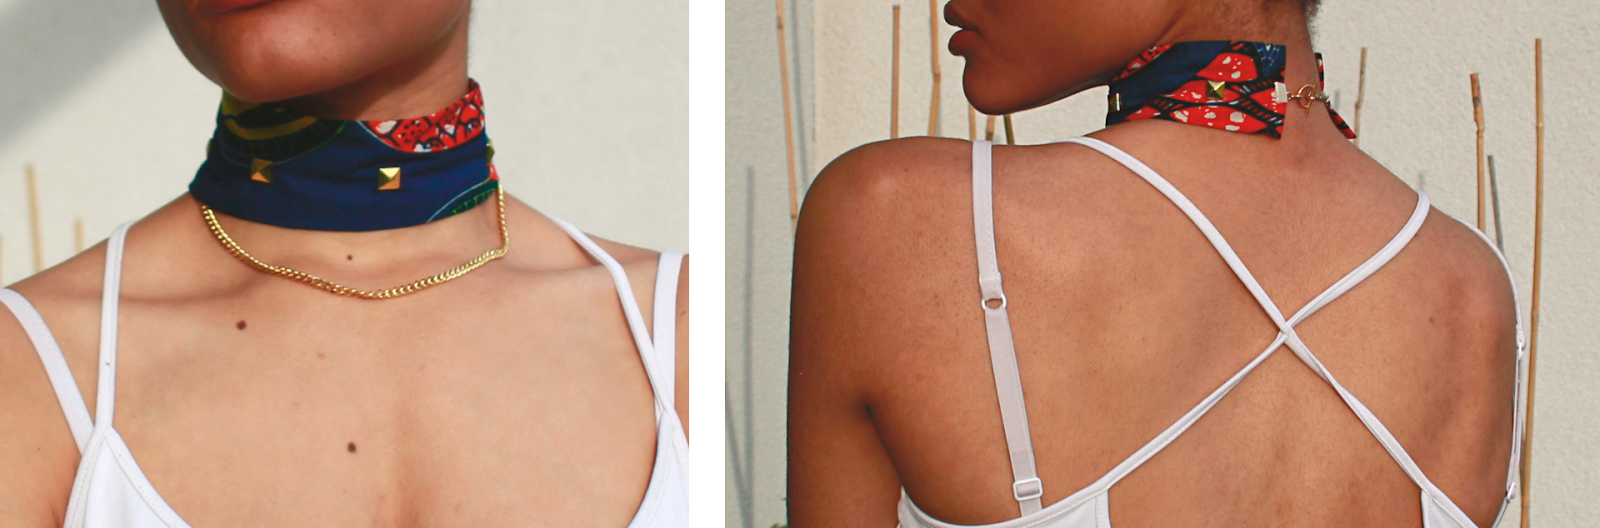
You can also use grommets if you happen to have the tools at home. They're an easy (and more accessible ) alternative to necklace clasps.

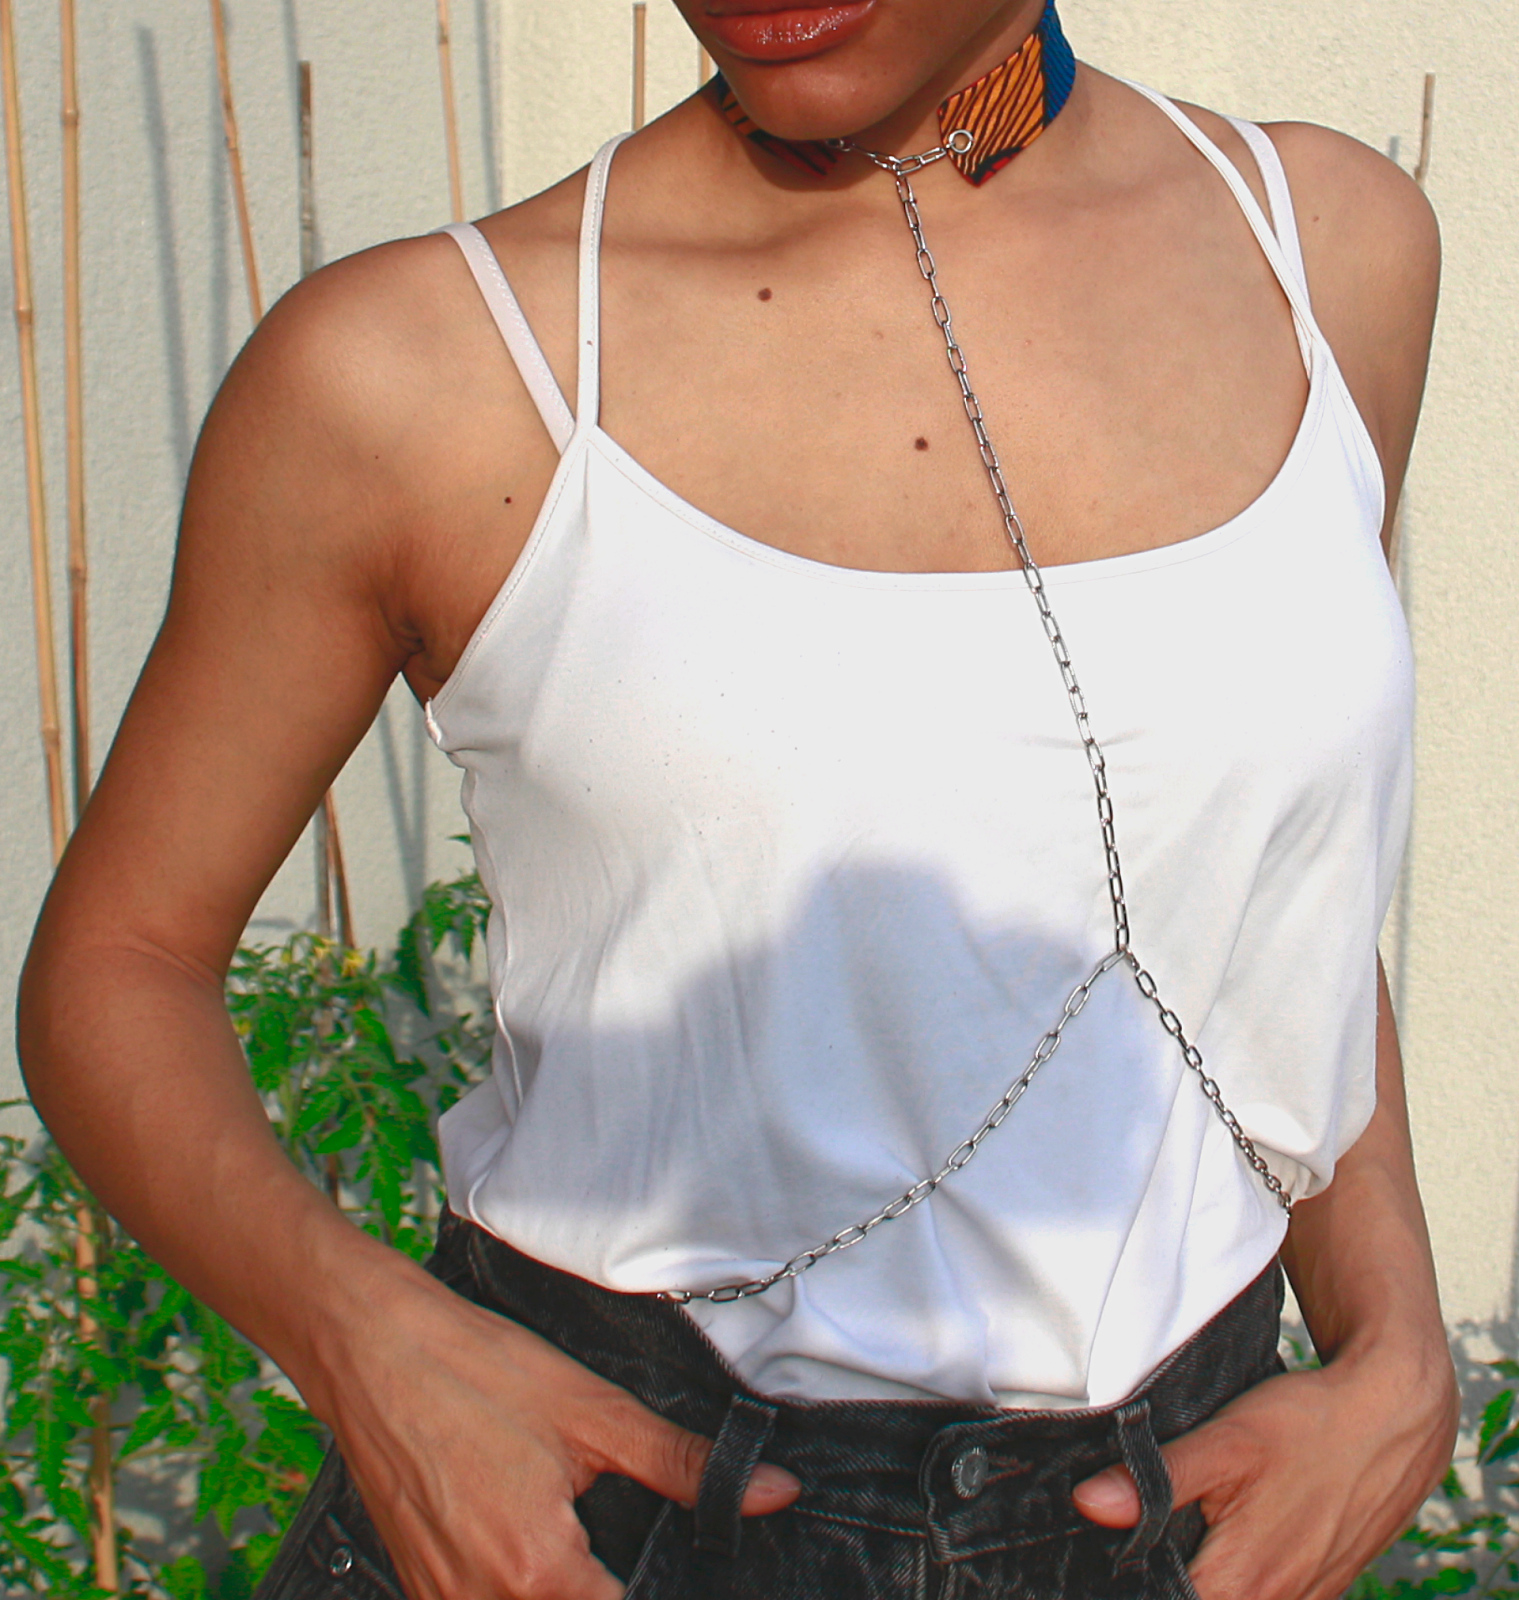

For the body chain I attached a small lobster claw at the end, which helps me regulate how far down or up I prefer to wear it. But this is just one of many more ways to DIY your hand-made choker.
I hope my customized chokers motivate and inspire you to go all out with your creativity as well!
Comments
Post a Comment